Hands-on Foo contract
This article aims to give a complete overview of how to compile, deploy and test a smart contract. All the required tools are presented step by step to illustrate the necessary development environment setup.
Prerequisites
- sc-boilerplate (https://github.com/davdifr/sc-boilerplate)
- Node.js (https://nodejs.org/en/)
Index
- Creating a Test Wallet
- Installing the required packages
- Foo Smart Contract
- Deployment on the Goerli testnet
- Contract verification with Etherscan
Creating a Test Wallet
MetaMask is a software wallet for cryptocurrencies used to interact with the Ethereum blockchain. It allows users to access their Ethereum wallet via a browser extension or mobile app, which can then be used to interact with decentralized applications.
*Note: If you already have your own MetaMask wallet, you should create a new one for security reasons.
Using Google Chrome as a browser, Metamask is avaiable in the chrome web store. Follow the instructions to create your wallet and write down the 12 words that make up the secret recovery phrase, because they will be needed later for the deploy part.
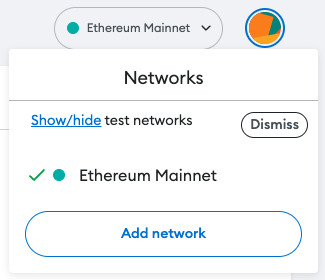
As a test, it shouldn’t be on the Ethereum mainnet, but on a testnet, specifically the Goerli testnet. The following part shows how to change the selected network:
On the top right of the MetaMark interface click on Ethreum Mainnet;
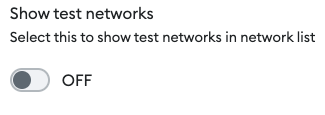
Click on Show/hide test networks;
- Enable “Show test networks”;
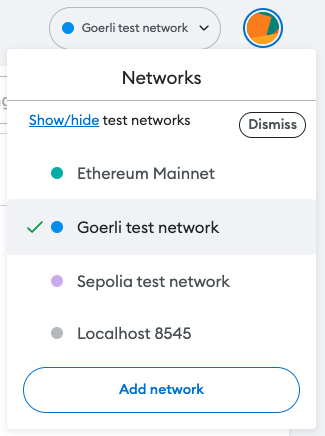
- Go back and select “Goerli test network”.
Now the wallet is ready to interact with the Goerli test network. Since funds are required for each transaction, you can receive GoerliETH tokens through these links:
Copy and paste the wallet address from MetaMask on one or both the previous website to get 0.2 or 0.1 GoerliETH.
Installing the required packages
Thanks to Node.js the boilerplate can work properly with the required packages.
1
2
3
4
5
"@truffle/hdwallet-provider": "^1.5.1",
"ganache-cli": "^6.12.2",
"mocha": "^9.1.2",
"solc": "^0.8.9",
"web3": "^1.6.0"
🚨 All packages can be installed automatically with npm install in the project folder, because they are already specified in the package.json.
Required packages are listed below with a brief description:
@truffle/hdwallet-provider - HD Wallet-enabled Web3 provider. It is necessary to use the wallet in the
deploy.jsfile. The first""must be filled with the 12 words that form the secret recovery phrase of the MetaMask wallet, the second with the Infura endpoints, which will be explained later.1 2 3 4
provider = new HDWalletProvider( "", // Wallet secret recovery phrase "" // Infura endpoints );
The hdwallet-provider also allows you to select which wallet account should be used to perform the action.
1
2
3
4
5
...
const accounts = await web3.eth.getAccounts(); // Get all the accounts in the wallet
...
    .send({ gas: "1000000", from: accounts[0] }); // Send the transaction from the first account
...
ganache-cli - Ganache CLI uses ethereumjs to simulate full client behavior and make Ethereum application development faster, easier, and more secure. Ganache CLI is needed to test the smart contract without deploying it on a real blockchain (test or mainnet). Required in
test/Foo.test.js.1 2 3 4
const assert = require("assert"); const ganache = require("ganache-cli"); const Web3 = require("web3"); const web3 = new Web3(ganache.provider());
mocha - Mocha is a feature-rich JavaScript test framework running on Node.js and in the browser, making asynchronous testing simple. Mocha provide the following functions (used in
test/Foo.test.js):Function Purpose it Run a test and make an assertion. describe Groups togheter ‘it’ functions. beforeEach Execute some general setup code before each test. solc - JavaScript bindings for the Solidity compiler.
web3 - Web3.js is a collection of libraries which allow you to interact with a local or remote ethereum node, using a HTTP or IPC connection.
Foo Smart Contract
The boilerplate contains a simple smart contract named Foo.sol with the following code:
// SPDX-License-Identifier: MIT

pragma solidity ^0.8.9;

contract Foo {
    string public message;

    constructor(string memory defaultMessage) {
        message = defaultMessage;
    }

    function setMessage(string memory newMessage) public {
        message = newMessage;
    }
}
As we can see, this smart contract is really simple and clear, it contains a string that we set with the constructor function when we deploy the contract, and a function that allows us to change the string. A basic smart contract like this is clearly good for understanding the process of deploying and testing.
Local deployment
The Foo.test.js first simulates the deployment in a local Ethereum chain (thanks to Ganache) with the string value "This is a real foo contract, not smart at all." passed in the constructor:
1
2
3
4
5
6
7
8
9
beforeEach(async () => {
  accounts = await web3.eth.getAccounts();
  foo = await new web3.eth.Contract(abi)
    .deploy({
      data: evm.bytecode.object,
      arguments: ["This is a real foo contract, not smart at all."],
    })
    .send({ from: accounts[0], gas: "1000000" });
});
And then (using Mocha) tests if the contract is successfully deployed, the default message is present as expected, and also tests the setMessage function by passing another string to check if it changes correctly.
1
2
3
4
5
6
7
8
9
10
11
12
13
14
15
16
describe("Foo", () => {
  it("Contract deployed successfully.", () => {
    assert.ok(foo.options.address);
  });
  it("Default message correctly setted.", async () => {
    const message = await foo.methods.message().call();
    assert.equal(message, "This is a real foo contract, not smart at all.");
  });
  it("setMessage function works properly.", async () => {
    await foo.methods
      .setMessage("The foo has been changed.")
      .send({ from: accounts[0] });
    const message = await foo.methods.message().call();
    assert.equal(message, "The foo has been changed.");
  });
});
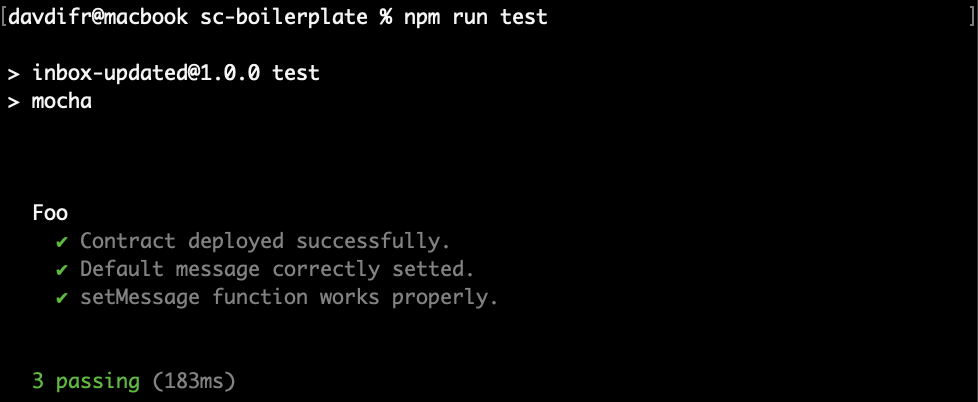
In the project folder, a test can be run with npm run test and the output will look like the following:
If the three tests are passed, the smart contract works as expected and can be deployed in a real blockchain (test or mainnet).
Deployment on the Goerli testnet
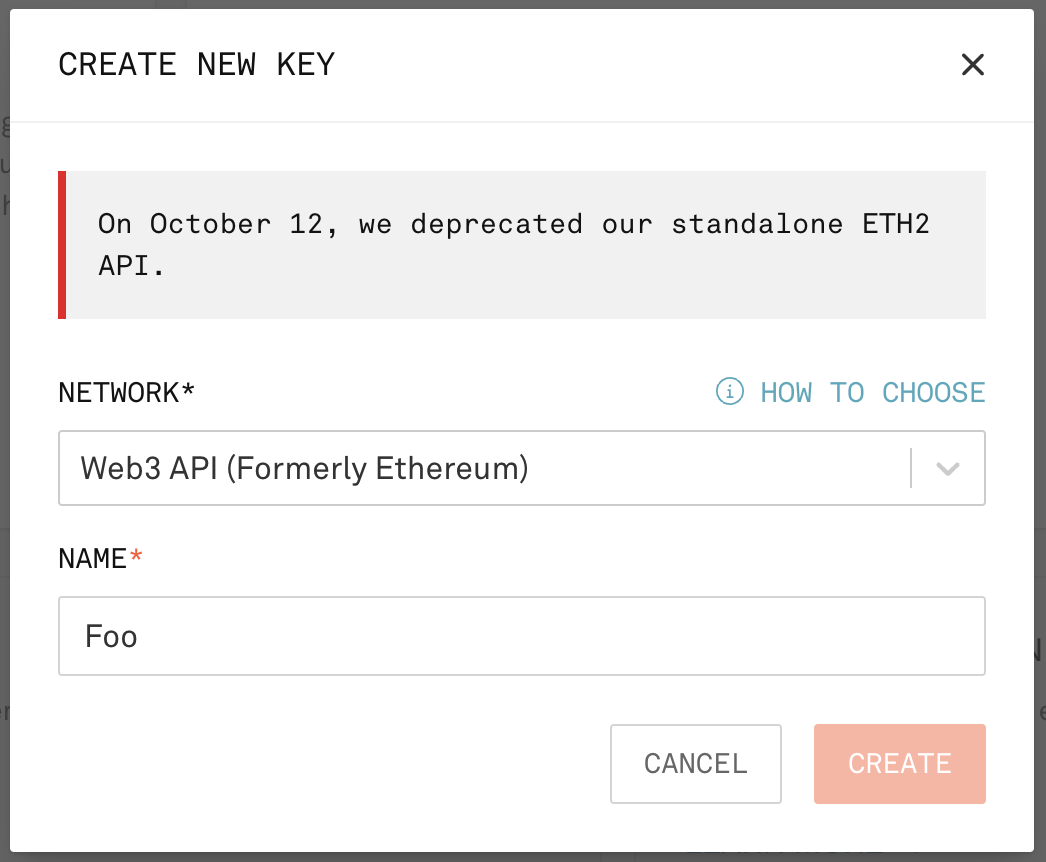
After testing, the contract is ready to be deployed on the Goerli test network. To accomplish this task, we need a provider instead of Ganache that will allow us to communicate and interact with the real blockchain. After an account is created on https://www.infura.io/, a new key can be generated.
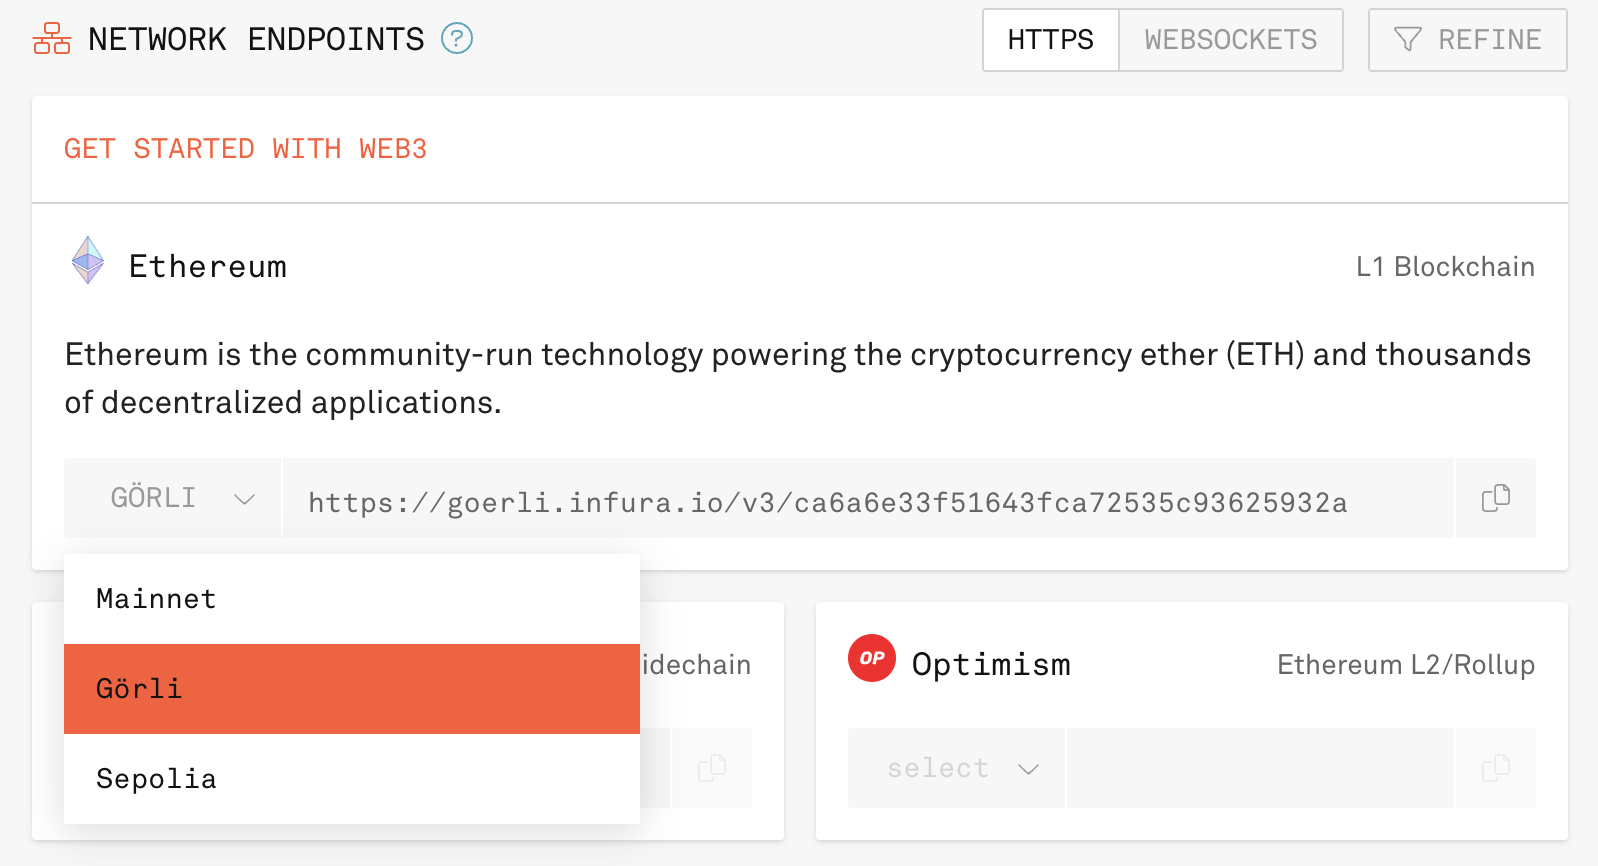
Next, Goerli testnet can be selected and finally a url endpoint can be received for deployment.
The endpoint must be inserted in the deploy.js file, as previously described:
1
2
3
4
provider = new HDWalletProvider(
  "birth hour hundred tuna confirm stove busy laugh initial spy sock start", // Wallet secret recovery phrase
  "https://goerli.infura.io/v3/ca6a6e33f51643fca72535c93625932a" // Infura endpoints
);
Finally, the Foo smart contract can be deployed by running node deploy.js, displaying the contract address as in the following image: 
Once you have received the address of the smart contract, the process is complete and the contract is actually on the chain.
Contract verification with Etherscan
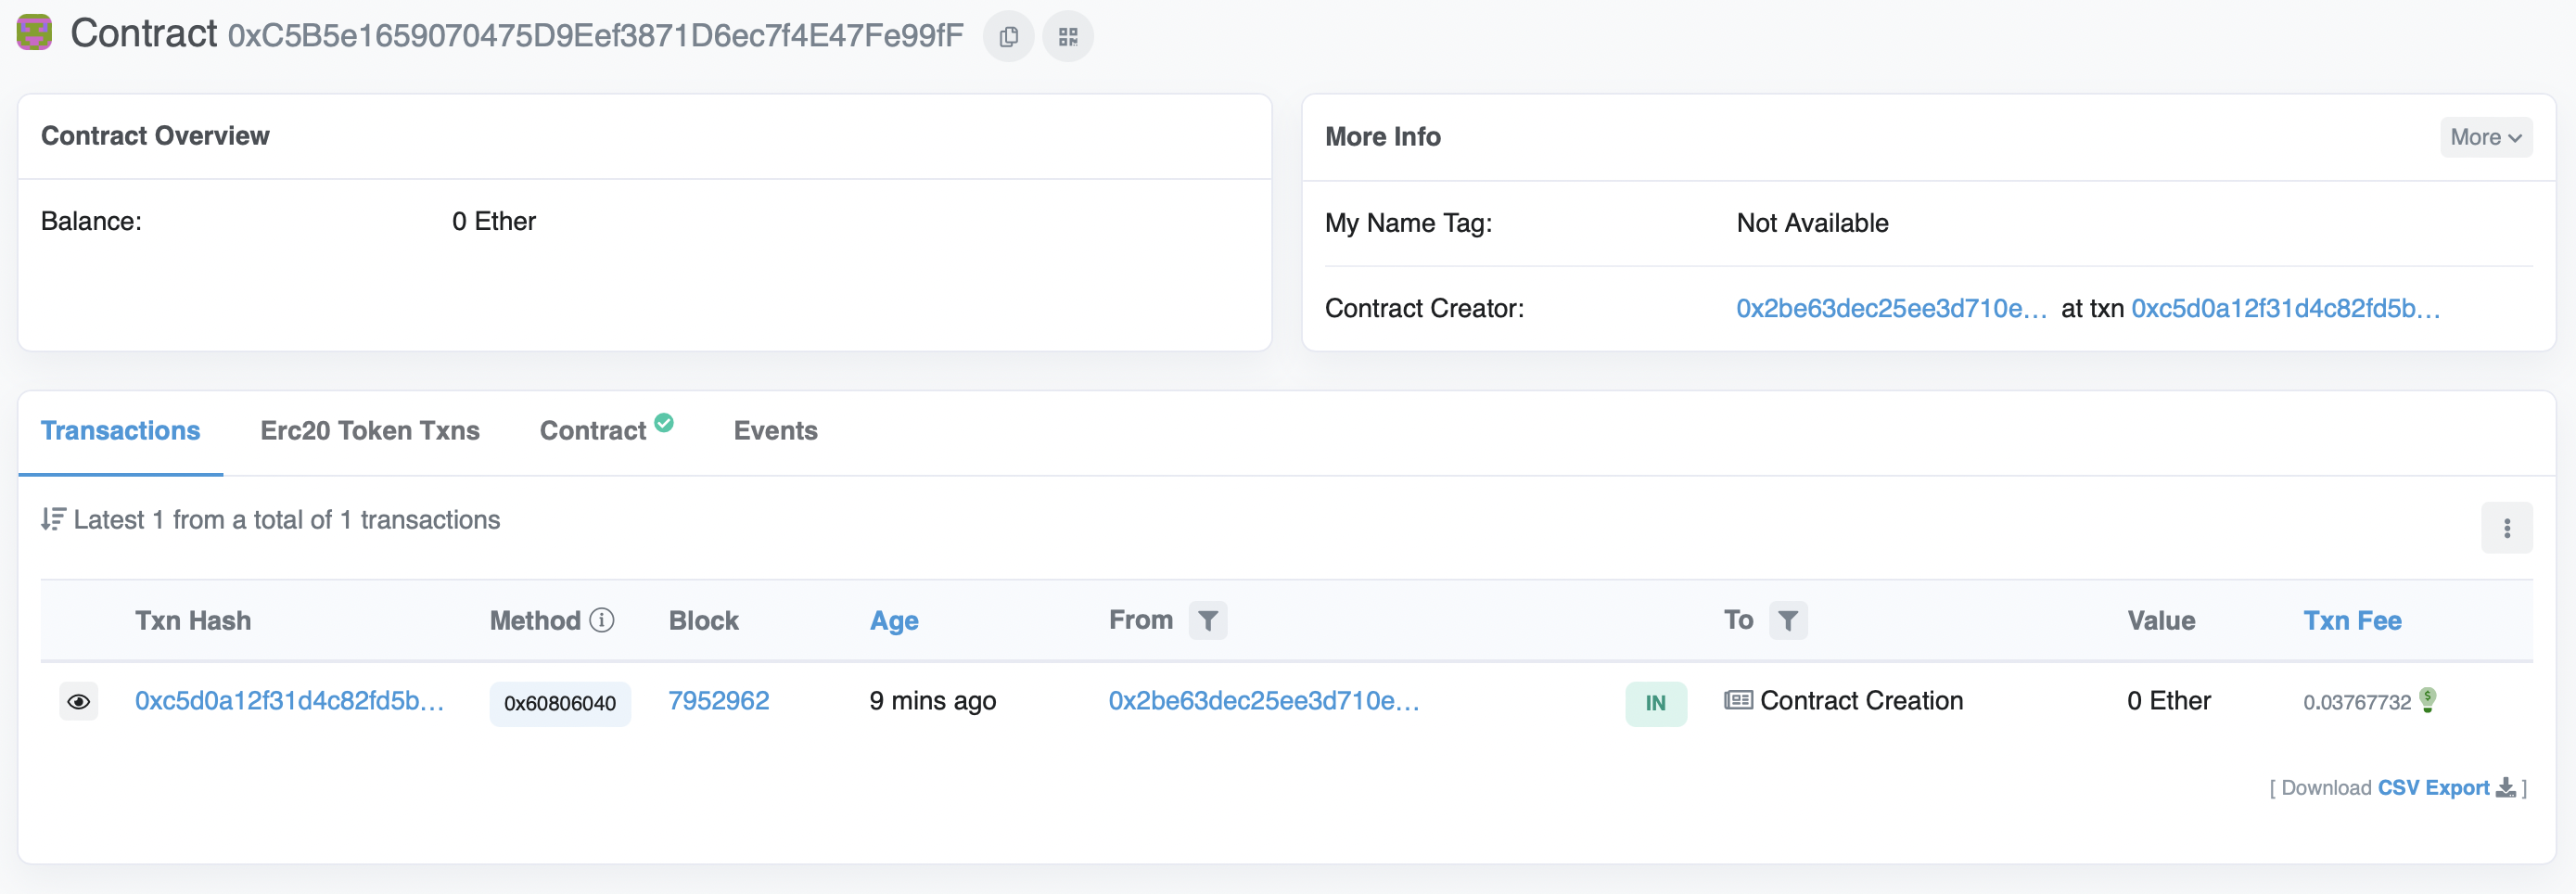
The Foo Smart Contract is located in the Goerli test network and is visible to everyone via the blockchain explorer https://goerli.etherscan.io.
The source code can be viewed by clicking on the “Contract” section;
The “Read Contract” section contains the message that was set in the deployment phase;
And the “Write Contract” section allows (through connection with MetaMask) the use of the setMessage function. 
Deploy details
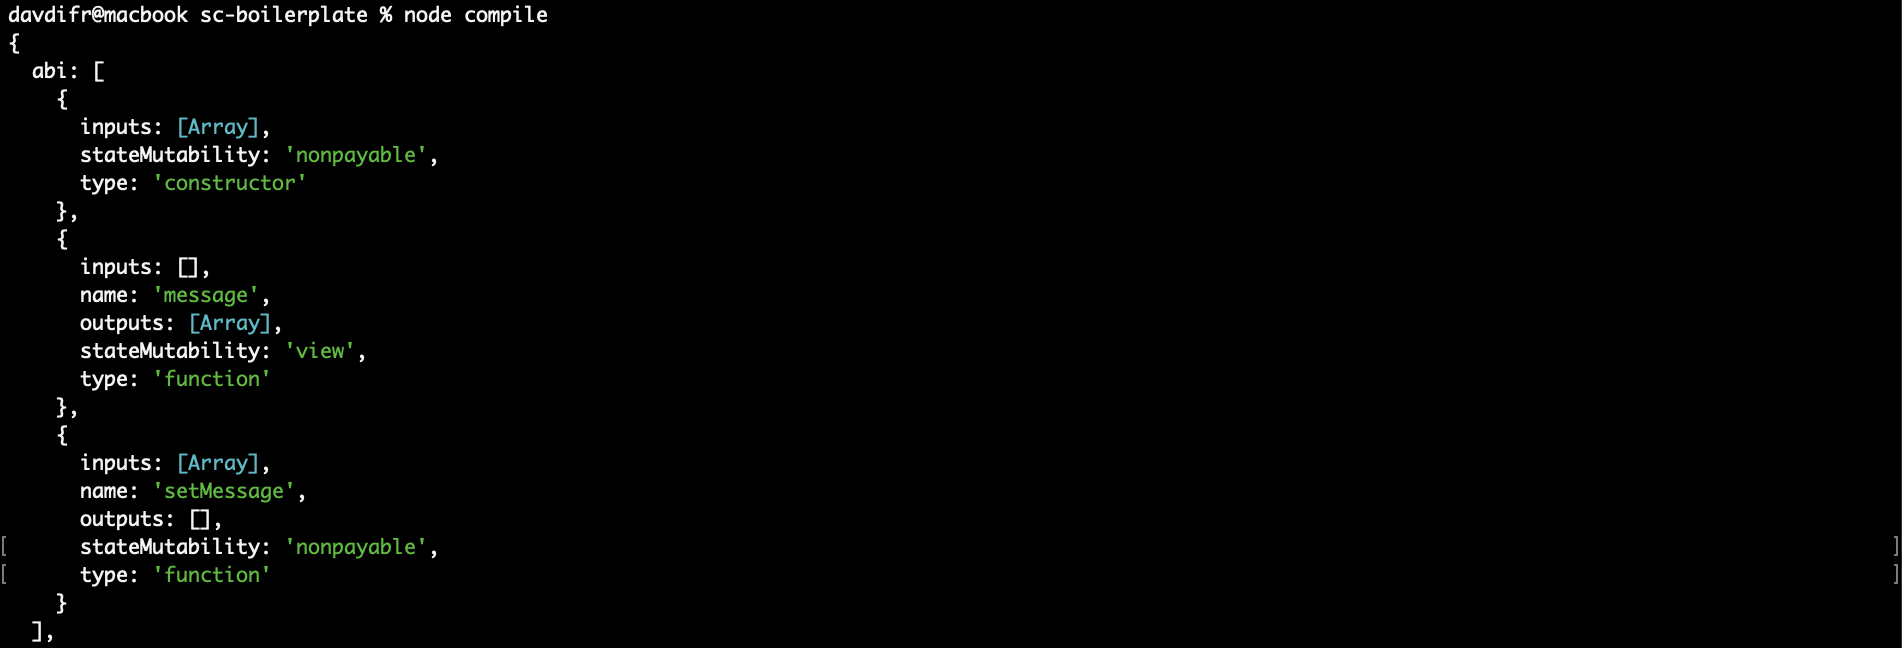
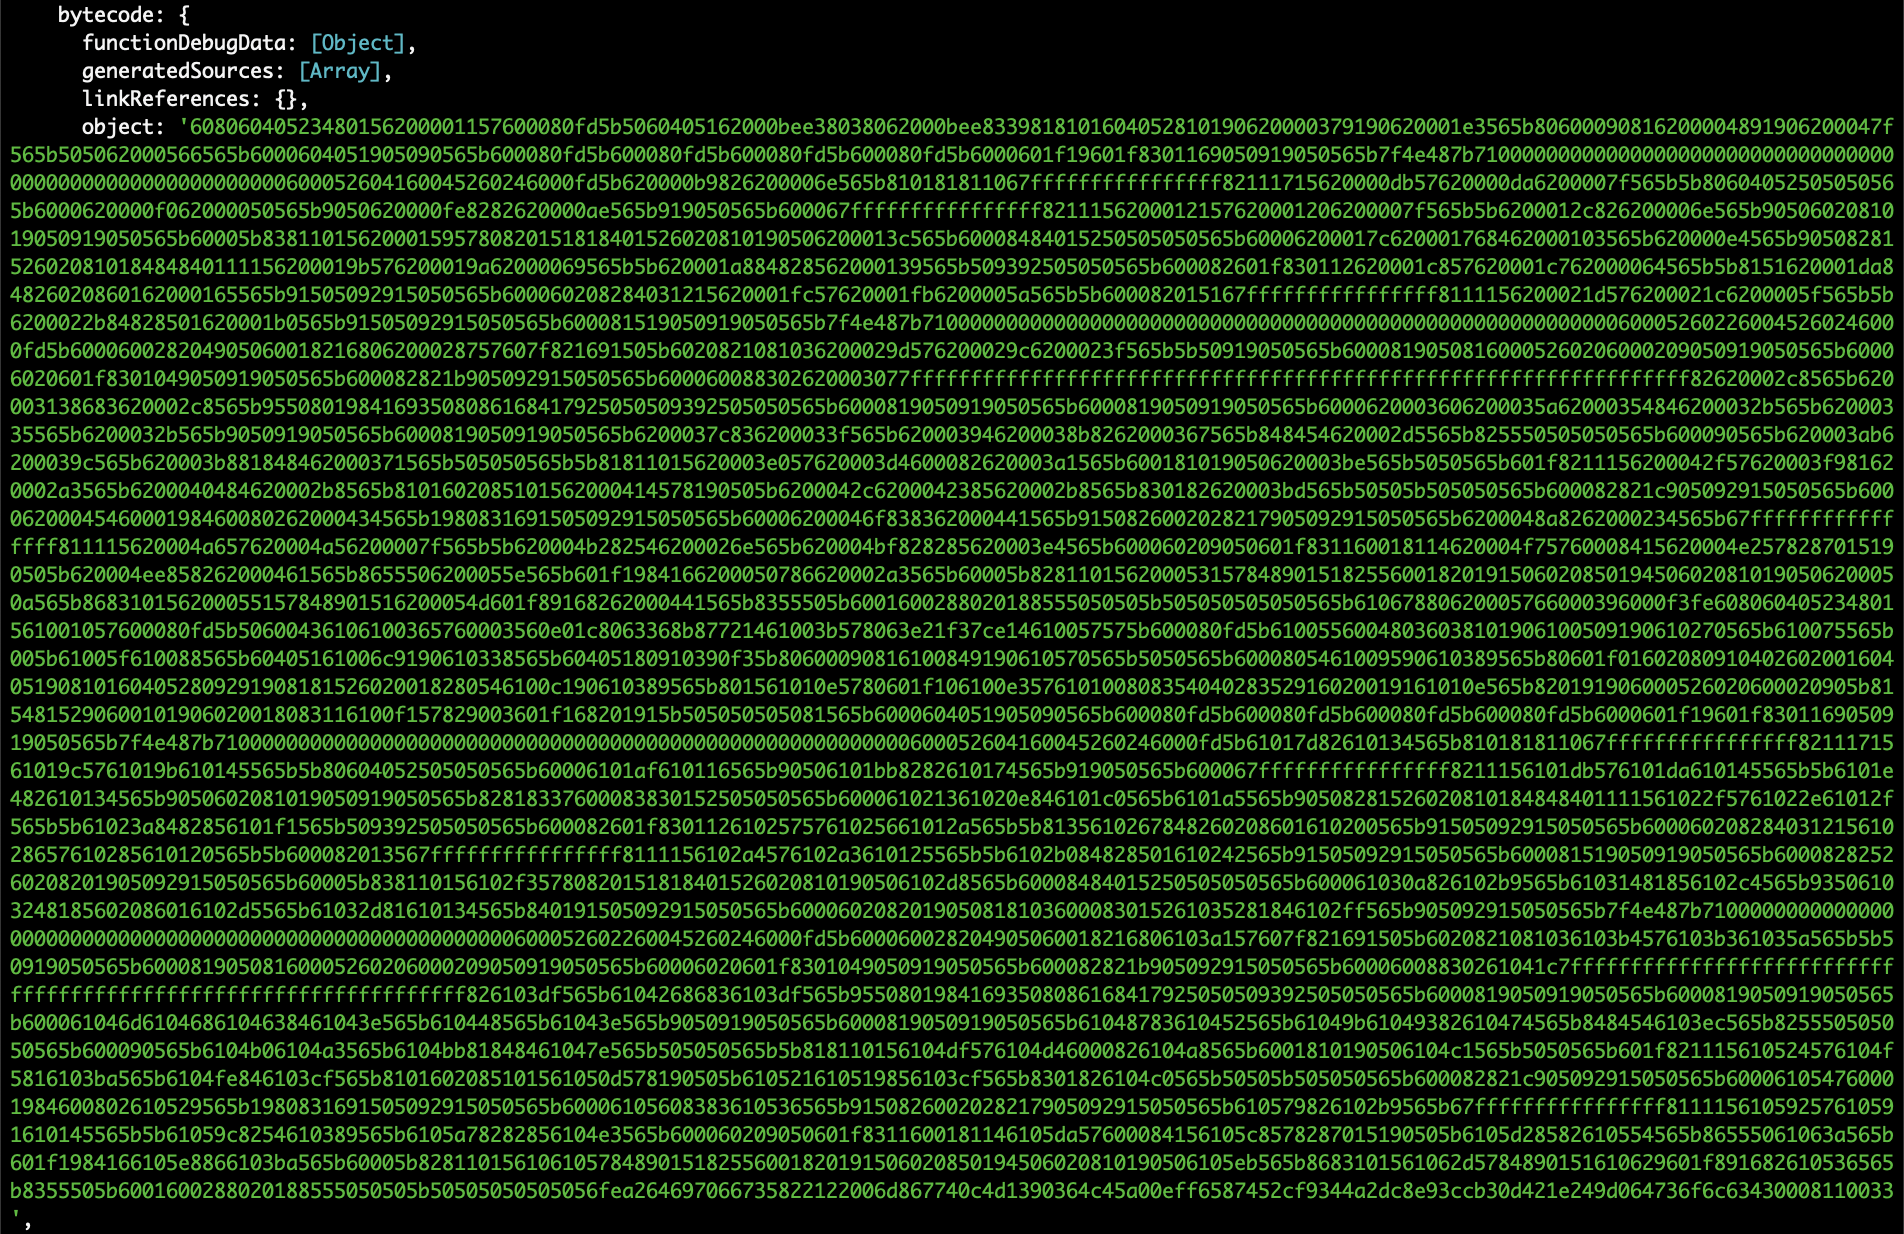
The deploy function also requires the bytecode (evm.bytecode.object) of the smart contract generated by solc (the Solidity compiler) to be interpreted by the Ethereum Virtual Machine. Obviously the bytecode isn’t human readable, for clarity and better understanding of the compilation process a console.log(module.exports); can be added to the end of the compile.js file. After running node compile, the ABI (which defines the methods and structures for interacting with the binary contract) and the bytecode can be viewed and look like this:
After the deploy() function, there is a send() function.
...
	.send({ from: accounts[0], gas: "1000000" });
...
Since each Ethereum transaction requires computational resources to be executed, there is a fee. Gas refers to the fee required to successfully complete a transaction on Ethereum and is expressed in Gwei. The gas parameter sets a limit of Gwei that the sender allows to process the transaction.
Wei is the smallest denomination of ether in Etheruem. One ether is one quintillion or 10^18 weis. The following table is a list of the named denominations and their value in wei:
| Unit | Wei Value | Wei |
|---|---|---|
| wei | 1 wei | 1 |
| Kwei (babbage) | 10^3 wei | 1,000 |
| Mwei (lovelace) | 10^6 wei | 1,000,000 |
| Gwei (shannon) | 10^9 wei | 1,000,000,000 |
| microether (szabo) | 10^12 wei | 1,000,000,000,000 |
| milliether (finney) | 10^15 wei | 1,000,000,000,000,000 |
| ether | 10^18 wei | 1,000,000,000,000,000,000 |
References
- Ethereum and Solidity: The Complete Developer’s Guide - Created by Stephen Grider
