Creating an NFT Credential
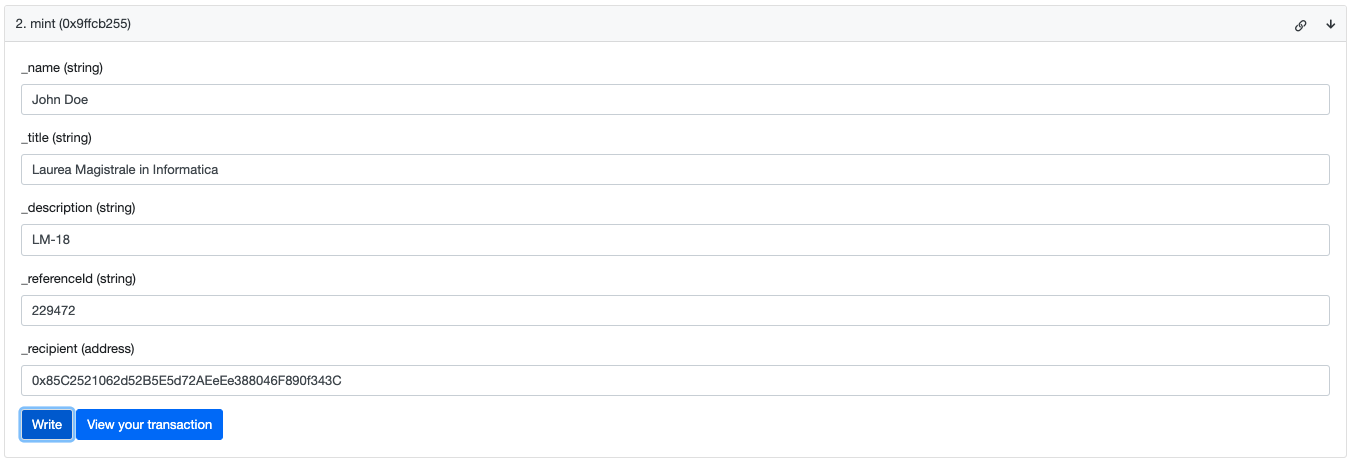
The NFTs created in the proposed solution are compliant with the ERC721 standard and can be created directly through Etherscan (the official Ethereum blockchain explorer). Additionally, like any other NFT of this standard, they can be viewed and read on any platform that interacts with these smart contracts. The creation of a new digital credential through Etherscan appears as follows:
At this point, it is not necessary to have any coding experience to proceed. All you need to do is connect the contract owner’s wallet and fill out the form to create and send the recipient their digital credential.
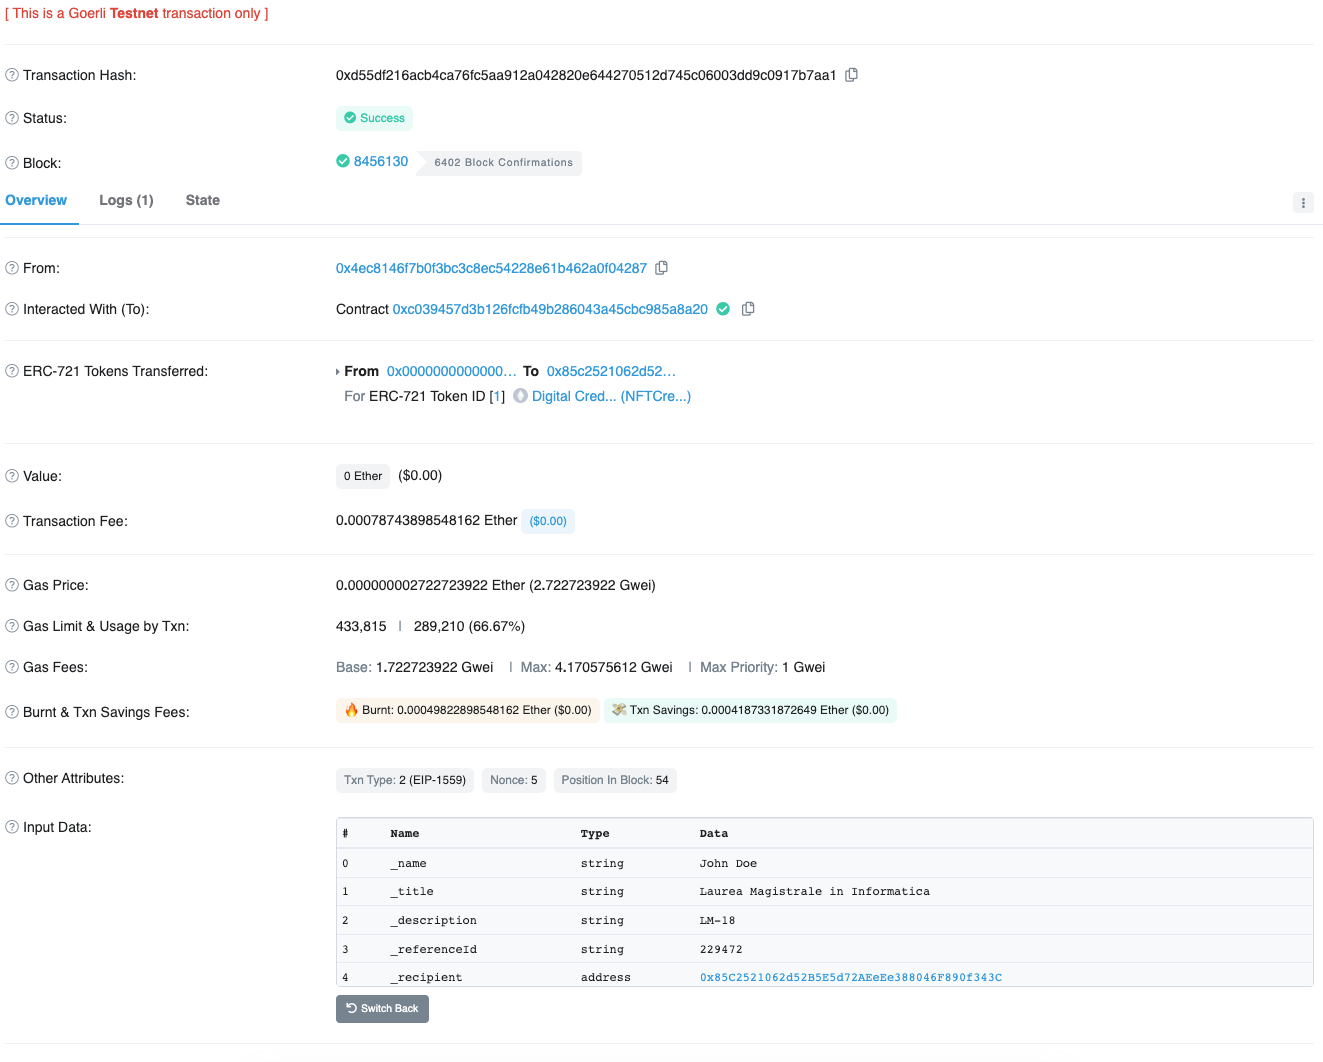
Once the token is released, the recipient can share their wallet address, allowing it to be easily found using various blockchain exploration tools, including Etherscan, where information about the token can be viewed.
Sharing the transaction details can also be sufficient to view the attributes of the issued NFT.
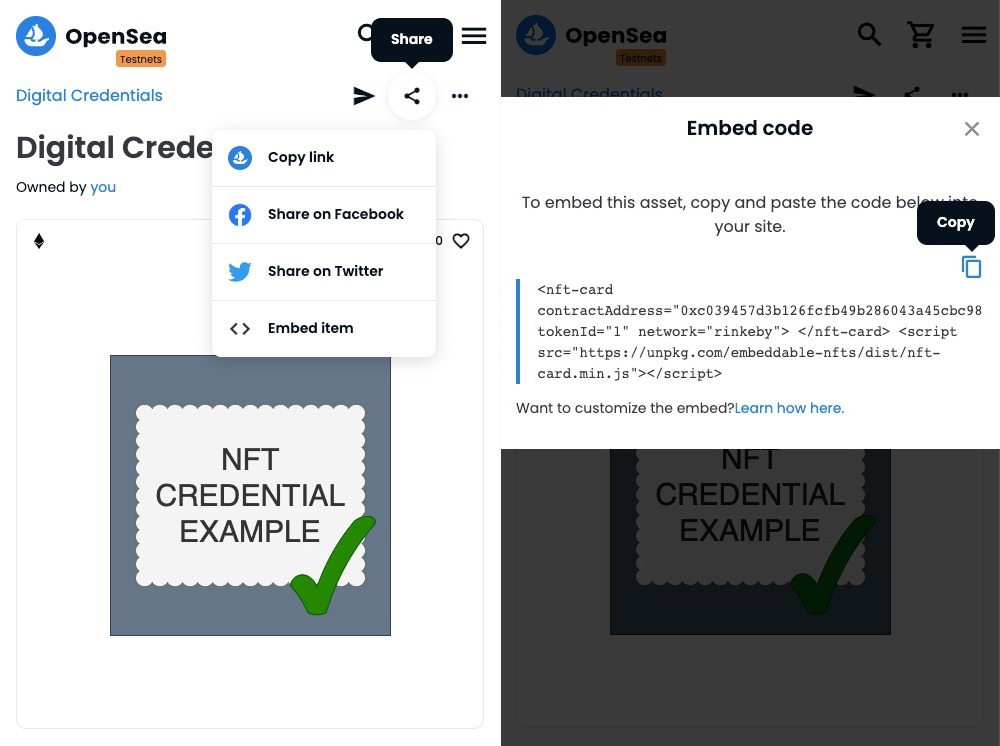
Of course, this is not a practical way to share the credential. It is recommended to use the OpenSea platform instead, which in addition to providing an address for viewing on their site, also provides an embed code.
Moreover, it is possible to build various web applications using the web3js library, which allows interaction with smart contracts.
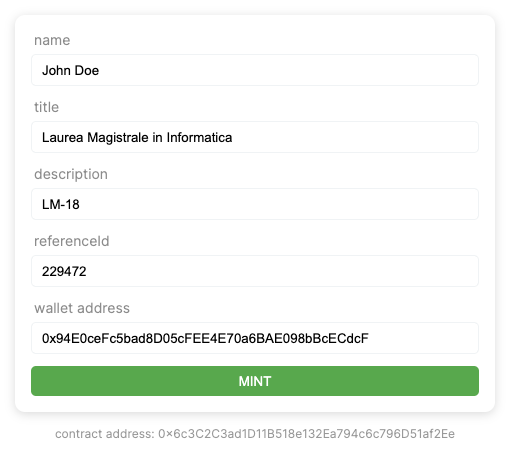
A possible example, which will be demonstrated in the form of a demo, is the potential use of these credentials as a form of login to a platform.
Potential use as Login [DEMO]
1. Checking User Address
1
2
3
4
5
var web3 = new Web3(
  "https://goerli.infura.io/v3/22a66e24f1fb47599e326320feb4b424"
);

const tokenContractAddress = "0x6c3C2C3ad1D11B518e132Ea794c6c796D51af2Ee";
Creating an instance of the Web3 class and connecting to an Infura node and we are defining a constant variable for the smart contract address that we will be interacting with.
1
2
3
4
5
6
7
8
9
10
let userAddress = "";
async function checkUserAddress() {
  if (ethereum) {
    try {
      userAddress = (await ethereum.enable())[0];
    } catch (error) {
      console.error(error);
    }
  }
}
Create a variable called userAddress and initialize it as an empty string.
Next, we have an asynchronous function called checkUserAddress. This function first checks if the ethereum object is available, and if it is, it enables access to wallet information using the ethereum.enable() method.
The first account in the resulting array is then assigned to the userAddress variable. If an error occurs, it will be logged in the console.
Upon opening the page, the user will be prompted to connect their wallet first, thanks to this code.
2. Logging into the platform via contract interaction
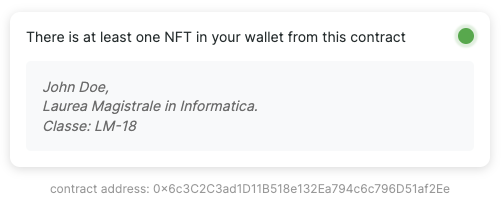
We manage a login interface that handles two scenarios: the wallet owner doesn’t have any tokens issued by our contract, and the owner has one or multiple tokens, the details of which are also displayed.
When the button is clicked, it performs the following actions:
1
2
3
4
5
6
7
8
9
10
11
12
btn.addEventListener('click', async () => {
	const tokenContract = new web3.eth.Contract(abi, tokenContractAddress);
	const balance = await tokenContract.methods.balanceOf(userAddress).call();
	if (balance > 0) {
		...
    msg.textContent = 'There is at least one NFT in your wallet from this contract';
		...
	} else {
		...
		msg.textContent = 'There are no NFTs in your wallet created by this contract';
	}
  ...
- Creates a new instance of a smart contract using the Ethereum JavaScript library web3.js and its Contract object.
- Calls the
balanceOfmethod on the smart contract instance and checks if the returned balance is greater than 0.
If the balance is equal to or less than 0, the “msg” element is set to “There are no NFTs in your wallet created by this contract”.
If the balance is greater than 0, the “msg” element is set to “There is at least one NFT in your wallet from this contract”.
Additionally:
1
2
3
4
5
6
7
8
9
const tokens = await tokenContract.methods.walletOfOwner(userAddress).call();
const tokenMetadataPromises = tokens.map(tokenId => {
	return tokenContract.methods.metadata(tokenId).call();
});

const tokenMetadatas = await Promise.all(tokenMetadataPromises);
tokenMetadatas.forEach(metadata => {
	...
});
- Calls the
walletOfOwnermethod on the smart contract instance to get an array of tokens owned by a specific user address. - Maps over the array of tokens and calls the metadata method on the smart contract instance for each token to retrieve its metadata.
- Waits for all metadata requests to complete and stores the results in an array.
- Iterates over the array of metadata, creating HTML elements for the owner name, title, and description of each token and appending them to the “details” element.
Creating a Graphic Appearance
NFTs commonly come with an image that serves as a visual representation. However, the current on-chain metadata structure doesn’t support the inclusion of images. Fortunately, we can utilize an off-chain solution through IPFS to resolve this limitation.
IPFS (InterPlanetary File System) is a decentralized and distributed file storage system that is designed to enhance the speed, safety, and openness of the web. Unlike traditional server-based file storage, IPFS leverages a peer-to-peer network of computers to store and access files, leading to faster and more resilient file sharing. This technology is often integrated with blockchain technology to build decentralized applications and to store and transfer digital assets such as NFTs.
Two files will need to be stored using an IPFS service: the image we want to assign to the token, and the JSON file containing the desired metadata.
1
2
3
4
5
{
  "name": "Digital Credential",
  "description": "On-chain Digital Credentials through NFTs.",
  "image": "ipfs://QmNgdypgjW79BNj1aADctMakZGJqbjiTbKDyWC97smcXg8"
}
The JSON file will in turn have the IPFS link that has been assigned to the image inside it.
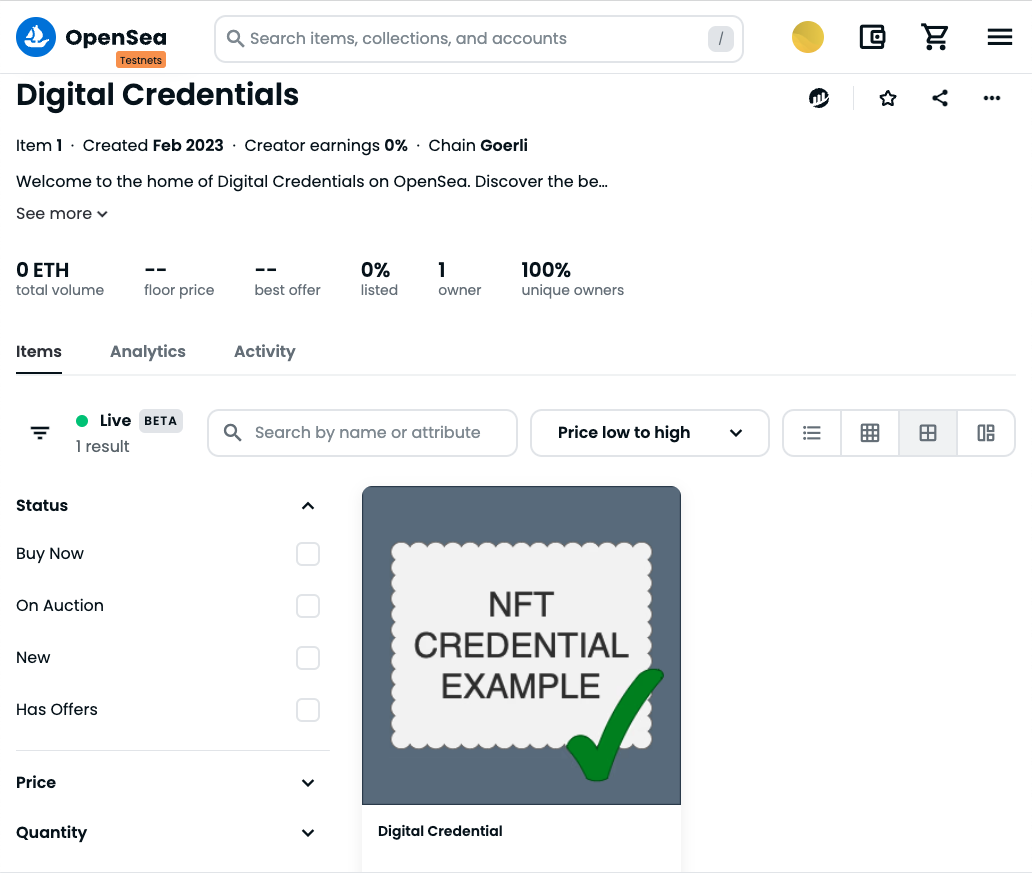
The final step is to call the setBaseURI function of the contract, providing the IPFS address of the JSON file as input. From this moment on, the graphical representation of the token will be visible on any platform. Here is an example on OpenSea:
